Github Setup
For all of the mini-projects and demos we will be using Git for source control. For that, you will need to have a Github account.
Create a Github Repo
First go to your Github and login to your account. On the left you should see the option to create a new repo.
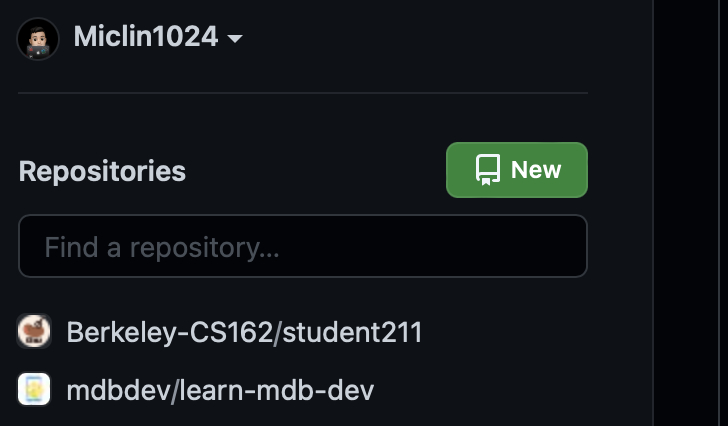
In the dialogue, pick a name for your repository. You should initialize it as a public repo and do not include README, .gitignore, or license since you will fetch it from our template later.
After clicking create, your remote repo will be ready. You should see a URL ending with .git, this will be the remote address of your repository.

Copy this URL. In the terminal, navigate to a folder of your choice and clone the repository.
mkdir ~/Developer && cd ~/Developer
git clone [URL]
Note: Git won’t work unless you have either Xcode or Xcode command line installed. Most people would use Xcode command line since they don’t need the full Xcode. But because we will be doing iOS development, you might as well have the full Xcode installed (from the App Store) before running this step.
Go into the cloned project folder, and add our starter code remote under the alias starter:
cd [folder-name]
git remote add starter https://github.com/Miclin1024/MDB-iOS-TP.git
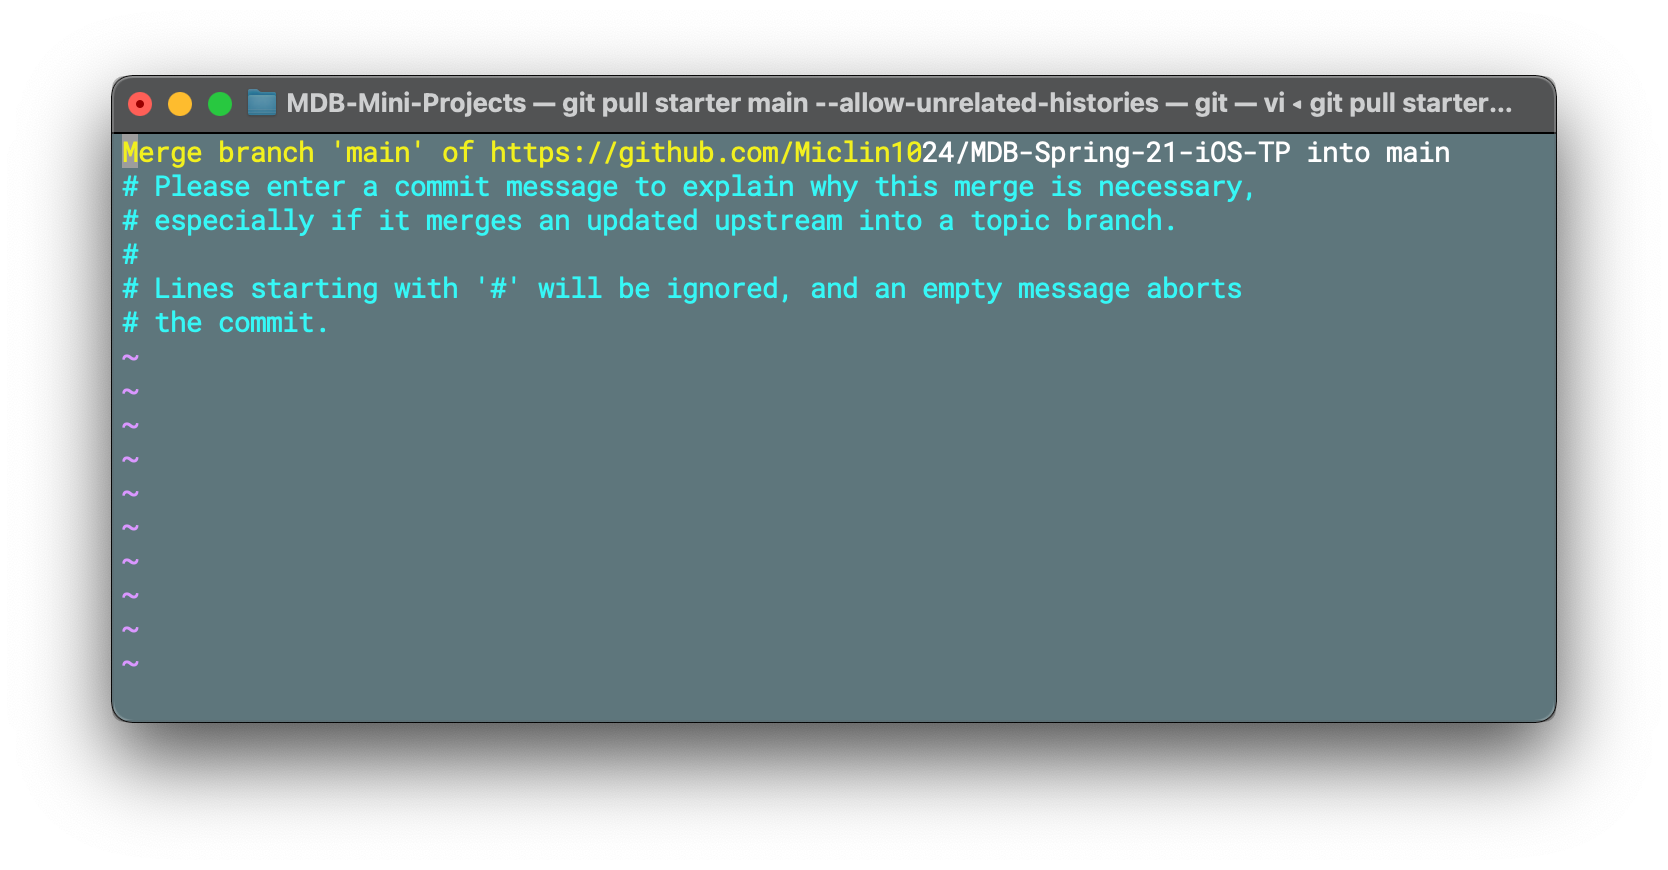
git pull starter fa22/student/main --allow-unrelated-histories
This should open your default CLI text editor asking you to confirm the merge. If yours is vim, type :wq to save and exit.
Now take a look at your README.md, the first line should say
# MDB Project Portfolio
Run command git remote -v, you should see two remotes: origin and starter.
To recap what we just did: we created a repository under your account (the origin), link it to a local copy (git clone), and link that local copy to a different remote (the starter) that I (the instructor) own for publishing the starter code.
This way, you can run git push to submit commits to your own remote, while still being able to use git pull starter fa22/student/main to receive updates on the starter code.